Our Process
Please supply as much information as possible in order to keep costs low.
Email your plans, materials, furniture choices, etc. to take the guesswork out of the design.
Phase 1
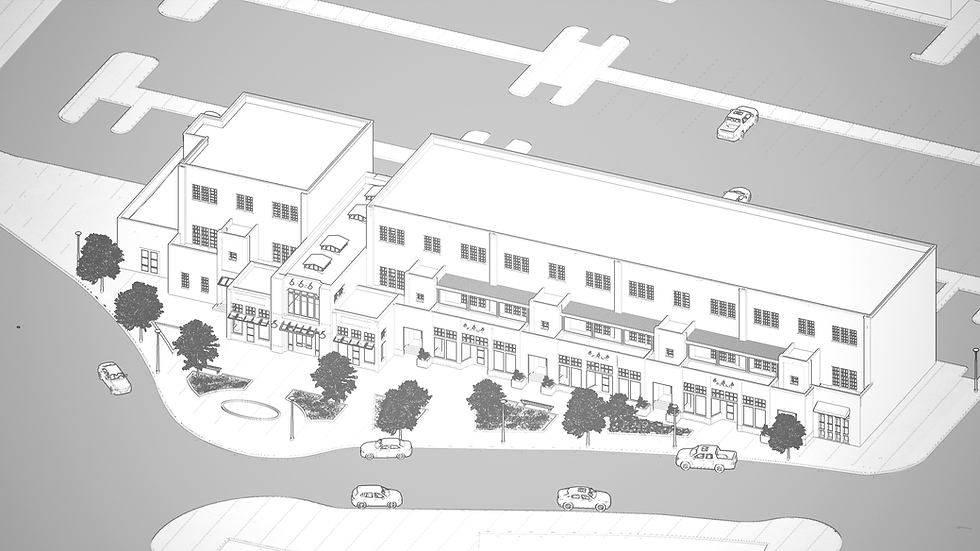
The design will be modeled based off what was provided. This is where we decide the angles you would like for your render and insure the shape and details look correct.
This is the easiest phase to make significant changes.
Phase 2
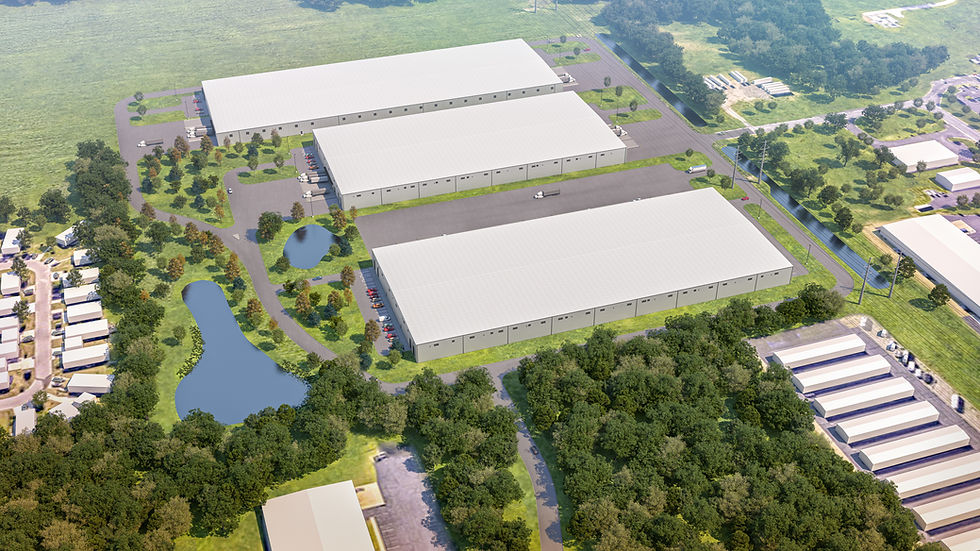
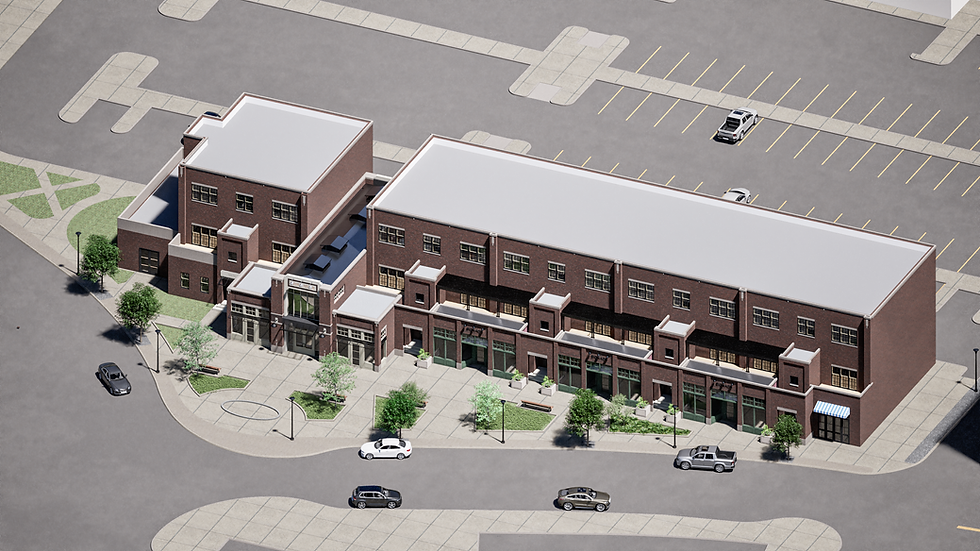
The fun part! Materials, site elements, vegetation, and extra details are added, followed by some post production work.
This phase can be altered to show more or less details depending on your needs. Scale back or go all out!
Phase 3
WHAT WE NEED FROM YOU
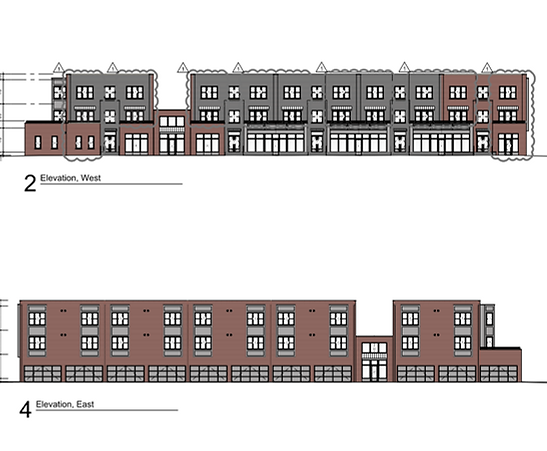
The best way to get started is providing a set of drawings that we can go off of. Drawings that include measurements, doors, windows, and elevations are extremely helpful.
We can accept CAD, REVIT, SKP, FBX, PDF, JPEG, and even hand-drawn sketches.
Sketches and Drawings
1
Materials and finishes will answer a lot of these questions, but indicate the desired color scheme, fabrics, and textures. Provide color samples or provide overall mood boards so we can get the right aesthetic.
General Vibe
3
Details about the materials and finishes for the space, like flooring, wall treatments, ceiling designs, and cabinetry, are important. It’s useful to include samples or reference images to show exactly what you’re aiming for.
Many people choose to send their entire Pinterest board, anything helps.
Material and Finishes
2
Anything else you can think of, such as links to furniture, light fixtures, artwork etc. If this is a renovation, real photographs of what the space looks like is crucial to get existing conditions